
Table of Contents
Changing the domain name of your WordPress site can be a critical step in rebranding or expanding your online presence. This guide will help you through the process using phpMyAdmin, ensuring you handle common issues effectively.
- Introduction
- Prerequisites
- Step 1: Backup Your Database and Files
- Step 2: Access phpMyAdmin
- Step 3: Select Your WordPress Database
- Step 4: Locate and Edit the
wp_optionsTable - Step 5: Update the Site URL and Home URL
- Step 6: Update the
wp_postsTable (Optional) - Step 7: Update the
.htaccessFile - Step 8: Clear Cache
- Step 9: Test Your Site
- Step 10: Troubleshooting Common Issues
- Conclusion
Introduction
Changing your WordPress site’s domain involves updating the database and ensuring all redirects are properly configured to maintain your site’s functionality and SEO ranking. This guide provides a step-by-step approach to make this process seamless.
Prerequisites
- Access to your web hosting control panel (e.g., cPanel, Plesk).
- Access to phpMyAdmin through your hosting control panel.
- Basic understanding of navigating through phpMyAdmin and your file manager.
Step 1: Backup Your Database and Files
Before making any changes, always back up your WordPress site. This includes both the files and the database. In case something goes wrong, you can restore your site from the backup.
Backup WordPress Files:
- Log in to your hosting control panel.
- Navigate to File Manager.
- Select your WordPress directory (usually
public_html). - Compress the directory into a ZIP file.
- Download the ZIP file to your local machine.
Backup WordPress Database:
- In your hosting control panel, open phpMyAdmin.
- Select your WordPress database.
- Click on the Export tab.
- Choose the Quick export method and the SQL format.
- Click Go to download the database backup.
Step 2: Access phpMyAdmin
- Log in to your web hosting control panel (e.g., cPanel).
- Locate and click on the phpMyAdmin icon under the Databases section.
Step 3: Select Your WordPress Database
- In phpMyAdmin, find your WordPress database from the list on the left and click on it.
- This will expand and show all the tables in your WordPress database.
Step 4: Locate and Edit the wp_options Table
- In the list of tables, find and click on the
wp_optionstable. Note that the table prefix (wp_) may be different if you changed it during WordPress installation. - Once in the
wp_optionstable, you’ll see a list of fields.
Step 5: Update the Site URL and Home URL
- Look for the fields named
siteurlandhome. These fields usually appear on the first page. If you don’t see them, use the search function. - To edit the
siteurlandhomevalues, click on the Edit link next to each of these fields. - In the
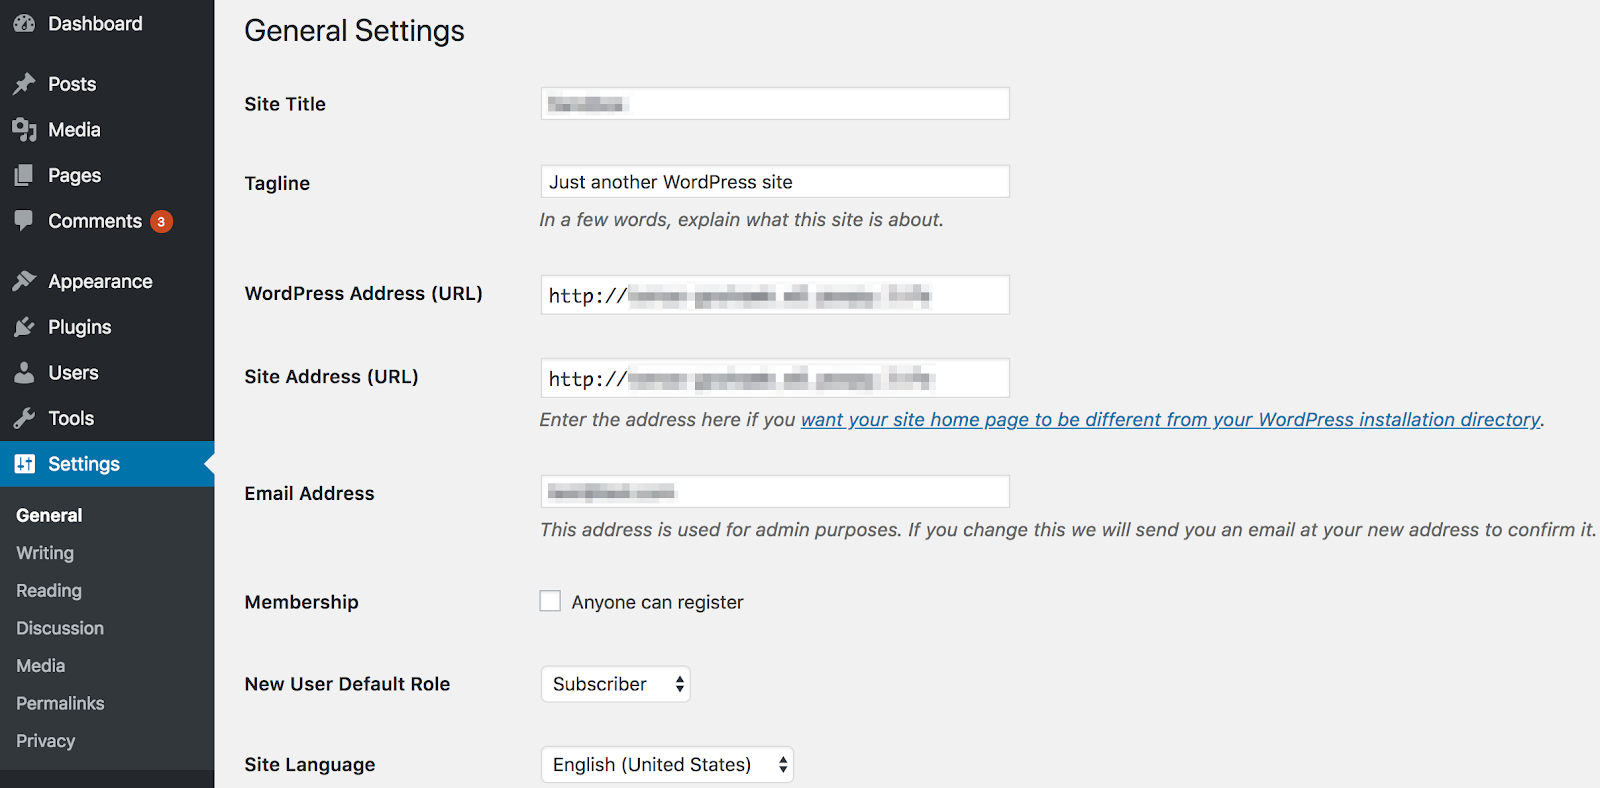
option_valuefield for bothsiteurlandhome, update the URL to your new domain. Make sure to include the full URL (e.g.,https://newdomain.com).
Example SQL Query: If you prefer to use an SQL query, you can run the following commands in the SQL tab of phpMyAdmin:
UPDATE wp_options SET option_value = 'https://newdomain.com' WHERE option_name = 'siteurl';
UPDATE wp_options SET option_value = 'https://newdomain.com' WHERE option_name = 'home';
Step 6: Update the wp_posts Table (Optional)
Sometimes, internal links in your posts and pages may still point to the old domain. To fix this, you need to update the URLs in the wp_posts table.
Example SQL Query:
UPDATE wp_posts SET guid = REPLACE(guid, 'http://olddomain.com', 'http://newdomain.com');
UPDATE wp_posts SET post_content = REPLACE(post_content, 'http://olddomain.com', 'http://newdomain.com');
Step 7: Update the .htaccess File
- In your hosting control panel, open the File Manager.
- Navigate to the root directory of your WordPress installation (usually
public_html). - Find and edit the
.htaccessfile to ensure any old URLs are redirected to the new domain.
Example .htaccess Rules:
RewriteEngine On
RewriteCond %{HTTP_HOST} ^olddomain.com$ [NC]
RewriteRule ^(.*)$ http://newdomain.com/$1 [R=301,L]
Step 8: Clear Cache
- Clear your browser cache.
- Clear any caching plugins on your WordPress site.
- Clear the server cache if your hosting provider offers caching services.
Step 9: Test Your Site
Visit your new domain and navigate through your site to ensure everything is working correctly. Check for any broken links or missing images and update them if necessary.
Step 10: Troubleshooting Common Issues
Issue 1: Site Not Loading Properly
- Symptom: The site is not loading correctly or showing a blank page.
- Solution: Check the
siteurlandhomevalues in thewp_optionstable. Make sure they are correct. Clear your browser cache and site cache.
Issue 2: Redirect Loops
- Symptom: The site keeps redirecting back to the old domain or showing too many redirects.
- Solution: Ensure the
.htaccessfile has the correct redirect rules. Clear your browser cache and server cache. Check thesiteurlandhomevalues.
Issue 3: Mixed Content Warnings
- Symptom: The site loads, but with warnings about mixed content (HTTP and HTTPS).
- Solution: Update all internal links to use HTTPS. This includes updating URLs in the
wp_poststable as shown in the optional step above.
Issue 4: Broken Links and Missing Images
- Symptom: Internal links and images are broken or missing.
- Solution: Update the URLs in the
wp_poststable to reflect the new domain. Use a plugin like Better Search Replace to update URLs throughout your database.
Issue 5: Login Issues
- Symptom: Unable to log in to the WordPress admin panel.
- Solution: Check the
wp_optionstable for correctsiteurlandhomevalues. Clear your browser cache and cookies. Reset the password if necessary.
Conclusion
Changing the domain name of your WordPress site using phpMyAdmin involves several steps, but by carefully following this guide, you can ensure a smooth transition. Always remember to back up your site before making changes, and be prepared to troubleshoot common issues that may arise.
By understanding each step and knowing how to address potential problems, you can confidently update your WordPress site’s domain and maintain its functionality and SEO ranking. If you encounter any difficulties, refer back to this guide to ensure no detail is overlooked.